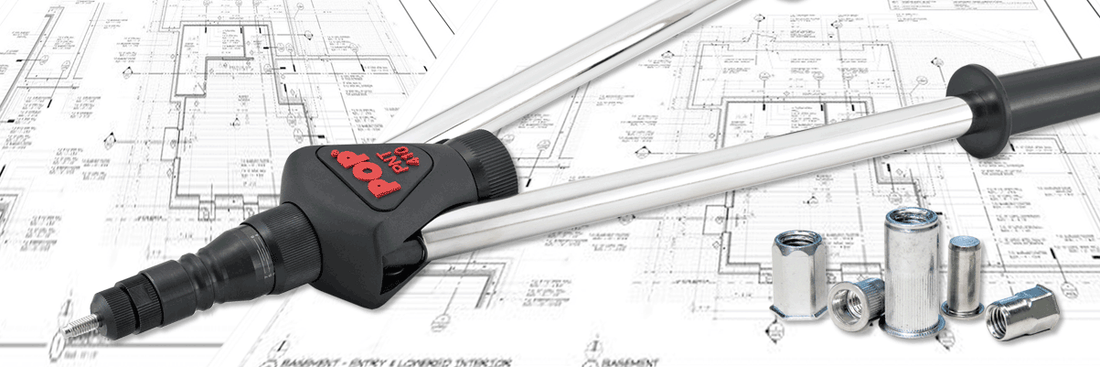
The POP® PNT410 Lever Rivnut Tool looks pretty straightforward to use, however, there are some tricks and if you don’t pay attention, your rivnut installation could become messy, and furthermore, your tool could be damaged.
Here is how to operate this tool:
PREPARATION
- Establish the material thickness the rivet nut will be installed.
- Confirm the rivet nut grip range is suitable for the material thickness (The grip range is marked on the product label).

- Prepare the hole to the diameter specified for the rivet nut size that is being installed (hole size is critical).
- Prepare a test plate that is the same thickness as the material you are installing the rivet nut in and carry out a test install.
OPERATION
1. To install the correct size mandrel and nosepiece in the tool, remove the nosepiece.

2. Remove the front sleeve by pulling the sleeve from the tool.

3. Remove the mandrel by pushing and lifting. Replace with the correct size mandrel.

4. Reverse step 2 to install the front sleeve until a positive ‘click’ is heard.
5. Reverse step 1 to install the correct size nosepiece.
6. Adjust the stroke of the mandrel at the head of the tool (up to M5 thread size start at 3mm; M6-M8 thread size start at 4mm; M10-M12 start at 5mm).

7. Wind on the rivet nut with the levers fully extended.

8. Adjust the nosepiece so that the mandrel thread just protrudes through the end of the rivet nut.

9. Insert the rivet nut installed on the mandrel in the prepared hole. Bring the levers fully together in one motion.

10. You may need to increase the stroke to achieve the correct clamping force.

11. Remove the mandrel for the rivet nut by rotating the mandrel holder knob anti-clockwise.

How do you set rivet nuts properly?
Remember, always select the correct size of mandrel and nosepiece to set rivet nuts / rivnuts / nutserts. Adjust the pulling force to set rivet nuts, but not oversetting. Check that the hole size and thickness of the material suit the rivet nut’s specifications.

Download a PDF version of this POP PNT410 rivnut tool operation instructions here.
Feel free to contact us, or drop into our store in Roseville, Sydney for a demonstration of the POP PNT410 Rivnut Tool.
Please note, we do not supply the POP PNT410 anymore. Instead, consider the RT-512 ratchet rivnut tool kit as a suitable replacement, or explore our range of rivnut tools here.